
This guide will explain how to create your own coax cable using compression style CATV connectors. This process will work for F, BNC, and RCA style connectors. The same techniques can be used on various sized cables. We will be using RG6 cable and RG6 F-type Compression Connectors, which come included in the 902-340 CATV “F” Compression Tool Bundle.
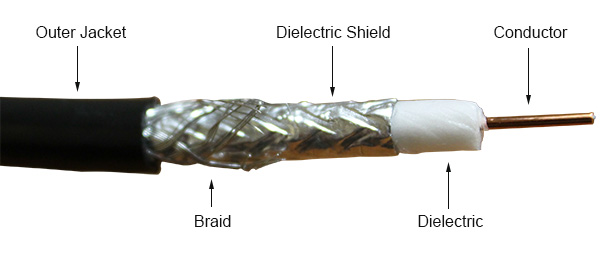
Coaxial Cable Breakdown
Step 1 – Spool out your length of cable
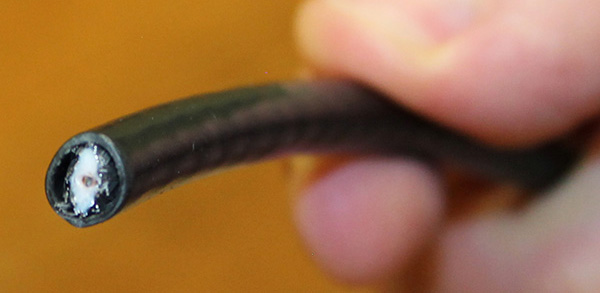
Pull out enough cable to run the length required for your installation. Make sure the ends are cut flush.
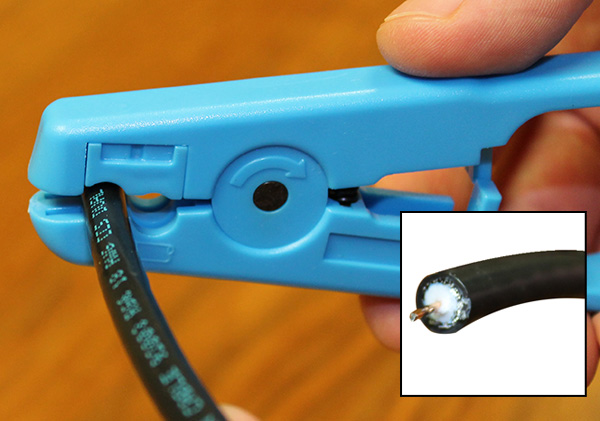
Step 2 – Strip cable to center conductor
Insert the cable into the stripper cavity that is designed to remove all layers of the cable except the center conductor. This cavity is easy to identify as it has a notch for the conductor. Line up the cutting blade so it is at 1/4″ away from the flush end of the cable. In a circular motion rotate the stripper around the coax cable. After a few rotations the dielectric insulator, foil shield, braid and outer jacket should come off with ease. You should now have 1/4″ of conductor exposed at the end of your cable
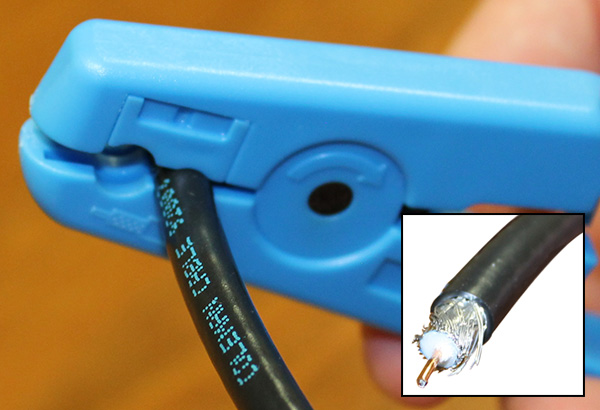
Step 3 – Strip only the outer jacket
Use the other cavity to strip only the outer jacket 1/4″ away from where the conductor is now exposed. Use the same rotary motion as the previous step to remove the jacket from the cable. You should now have roughly half an inch of cable stripped to these two stages.
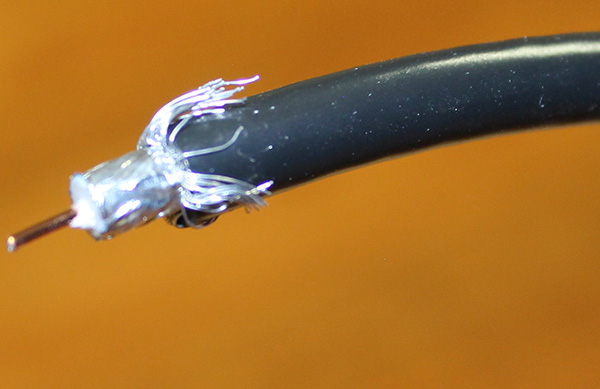
Step 4 – Fold braided shield back
Fold the braided shield over the outer jacket and away from the dielectric insulator. This will leave the 1/4″ dielectric wrapped in foil shield and another 1/4″ of center conductor exposed.
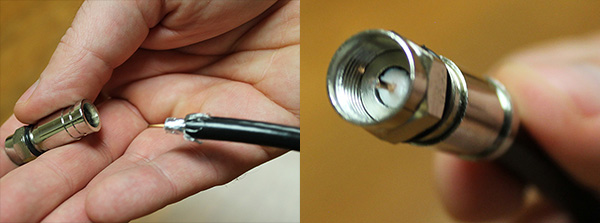
Step 5 – Insert the cable into the compression connector
Use moderate force and push the cable all the way into the connector. You need to make sure the cable is in completely or the crimp may not work correctly.

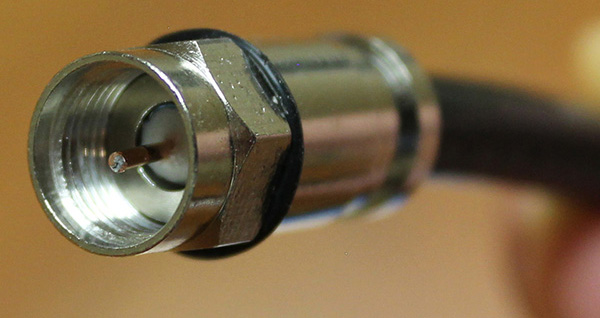
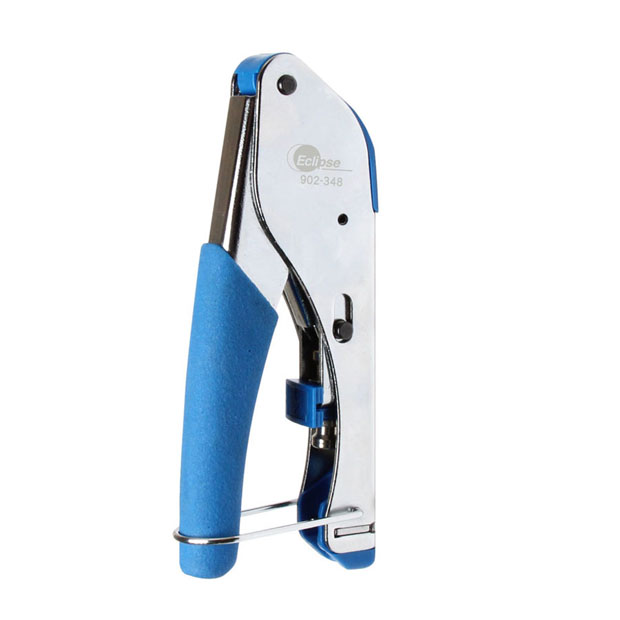
Step 6 – Crimp the connector on to the cable
Insert the connector into the adapter piece on the crimp tool and have the base of the connector rest on top of the metal stop plates. These plates will keep the connector in place during the crimp process. Squeeze the handles together until the full range of crimp motion has been completed. You can now open the tool and remove the crimped end of the cable. Give the connector a good tug to ensure it is securely in place.
If crimping BNC or RCA then do NOT use the included adapter with the compression crimp tool!
Step 7 – Crimp the other end of the cable
Repeat steps 1 through 6 on the other end of the cable.
Buy the tools used in this instructional guide.
| CATV Compression Tool Bundle Buy Now |
Coaxial Compression Crimper |
|
 |